Thursday, November 10, 2011

just made these...

I just made these cute little card for my daughters birthday using fotoflexer.com

Wednesday, October 12, 2011

Easy Sweet Poison

For our Halloween party this year, i wanted something fun to give out as prizes. I have made a bunch of cute things, but this is by far my most ingenious idea. POISON BOTTLES!! Their so cheap and super easy. My 5 year old could do it.

Start off with a few essentials...
 a LARGE cork.
 Some candy, separated by color.
AND... a cheap flower vase. Mine came from the Dollar store.

After you have all these things, put the candy in the vase, and the cork in the top. TA-DA!! 
Isn't that so easy it makes ya sick?? I wanted a cute tag for my Poison so those that were receiving would get what it was... Lets be honest, some of our friends are not up to par... So i found these cute vintage tags online and printed them off.
They came looking old and haggard just how i wanted them. I took the stamp set i recently purchased from Joann's and some Dollar store green ink, and made a mess. I LOVE IT!

Then to attach the label, i stapled a piece of string onto it, and tied it right onto the neck of the bottle.

Finished! and soooo cute!  I made these in 6 other colors. I think they'll be a hit.

Thursday, August 18, 2011

Fancy Garden Party!

So in honor of the end of Summer, and the rise of Autumn, I'm hosting a Fancy Garden Party. The first thing i did was select those that i wanted to invite, and while i did want this to be a couples party i was informed that men would not enjoy this ;). So now the party will be just for ladies.

Then i went to choose a theme. PROBLEM! I have too many creative ideas. So i decided to take a poll on facebook for what my theme should be. These are what the ladies are voting on.
This First on is a combintation of Burgandy, Dusty Pink, and Sage. Im thinking that its going to fall into a more floral and fresh theme. Lots of fresh fruit like raspberries, and green apples. And a large variety of floral decor like bouquets and kissing balls. This would be a more early evening theme.

This is a more dramatic and elegant theme. Plum, Tea stain, and Pearl. This one will be more of a sit down and relax party, Woman sipping wine and gosiping. Low table centerpieces to allow the ladies to chat and reaquaint. This would be an late evening even so we could have some 'swanky' lighting.

The last event theme is Lush. Olive, Gold, And Cream. This would be rich and lush. Full of thick floral bushes and shrubs. Light and airy flowers, and white wine.  A nice light sit down dinner served in the early evening.


Wednesday, August 17, 2011

Pomanders!

I have to take a second and explain how great Kissing Balls are. There are so many uses for them and you can use them in so many ways to decorate.  Here are a few of my favorite uses:


This is so CUTE! I love the idea of using tree branches as a small tree or large centerpiece, and hanging the pomanders from them. You could make this as large or as small as you want. So CUTE!
 Here is another great use of pomanders:


These are all so adorable. They hung them with Shepherd hooks, and on aisle chairs to make the Isle Runner. Simple and yet so elegant. And these could easily be transphered from your ceremony to your reception.

Here thier being used by the bridal party as thier arrangements and not so much as a decoration:


You can add a bunch of them to a bowl and make a center piece:


You can Place them on long stems and then in pots an you have pomander topiaries.


They make great decorations for wedding arches too.


And there are so many kinds of pomanders!

Simple ones:
Elegant ones:
Girly ones:
Ones with lights:
And your good ol' Floral:

If you make some to use one way, and decide you don't like it, thier easy to change up too!


Simple Trendy Decor.


XL Wood Pumpkin set . . . great center piece all together or seperate (:

Here are a few things that im working on. There so cute, and simple to make.  If you are interested in purchasing any of these leave a comment below.


These pumpkins are so adorable and could be made or redesigned in a variety of ways. Their block pumpkins. And they would be cute with block letters like these:
Give Thanks . . . simple blocks . . . goes with so many other items in the shop for fall autumn thanksgiving

*******************************************************
 The next item that is in this same Block Category, is this adorable Snowman.  So simple and yet so cute! And he could be left out all winter.  
Simple Prim SNOWMAN . . . great addition to your Winter (December to February) Decor
This snowman would be cute next to some block letters like these:
Remember if your interested in purchasing any of these to comment below. xoxo


The original pumpkin and snowman designs were made by Wood-n-Stiches


Friday, August 5, 2011

Upcycled Pumpkins

Here is another great example of reusing things that would have otherwise been considered "trash".  There were plain jane pumpkins, and they needed something to make them 'pop' and draw attention.

So i added layered paper, and some paint. Then antiqued the edges, and highlighted with orange glitter gel.

In about 20 min i turned the pumpkins into this:


As you can see their just a bit bigger then a soda can. As much as i love these, I need the room for my other Halloween and fall decor, so these will be sold in my Etsy.


Thursday, August 4, 2011

Teaching Trendy.

I try so often to teach those around me that you don't have to spend an arm and a leg to have fashionable designs in your home. Most of the things in my home were second hand that I breathed new life into. Or they were something Trendy that I wanted without spending 3x what it was worth.

My newest project is a set of grapevine pumpkins that i saw at Micheals. Their darling! and their also $$.
These are the pumpkins.

This was prett easy to make. And i made 2 of them. Then sprayed them black. Im goining to tuck a small strand of lights through each one. They cost me about 9$ a piece to make. which is nice compaired to the 29.99 they wanted elsewhere...


Im telling you guys. Trendy home decor doesn't have to cost you a month's salary. :)

Wednesday, August 3, 2011

Candle Holders, and Candles

So as promised, I completed a set of candle holders to use as a demo for out "making trendy" night.  Their pretty simple to make, and they can be painted in any color so you could make them for any holiday. Im thinking I want a set in Red to match our christmas decor.

Anyways, here they are!
I am making another set of these to sell, so if you love these but don't trust your creative tallents, you can look for them on my etsy HomeDecorBoutique@etsy.com

As for my candles, I love pillar candles, but I wish they could stand out more. So here are the candles i made to use with the stands.
The lighting is so bad, their green with orange and glittery purple.  AND I'll be teaching how to make these also. I think i might double up the classes on these and teach them together, so let me know what you think :)

I think they turned out great and its making me crazy for halloween!!!


Sunday, July 31, 2011

Making a Trendy Bathroom for Cheap!

Happy 16th Anniversary Mom & Dad!

My parents are such great people. They have both worked hard for me and my sibblings our whole lives. Without them we wouldn't be the people we are today. So for their Anniversary we wanted to really give back. SO... We redid their bathroom!

Now i have some amazing skills, (pats self on back) and I have great friends and family that go along with my crazy. So putting this back together was alot easier then you would think. We had a 100.00 budget and we didn't break it! Thats right, we fixed this bathroom in 6 hours and with only 100$. And i'll walk you through how.


First you need a bathroom in NEED of love...


OK, This WAS my parents bathroom. Everything had rust, and was falling apart. Dirty and broken. So many things in need of replacement. Hard water, chipping paint.

First thing we did was strip everything. We used paint scrapers, and Lysol 4in1 with bleach, and old wash rags. Prep and cleaned everything. That was the most time consuming part.

Once we were done with that, we laid the first coat of "Tuff as Tile" on our bathtub. That takes 2 hours to set.

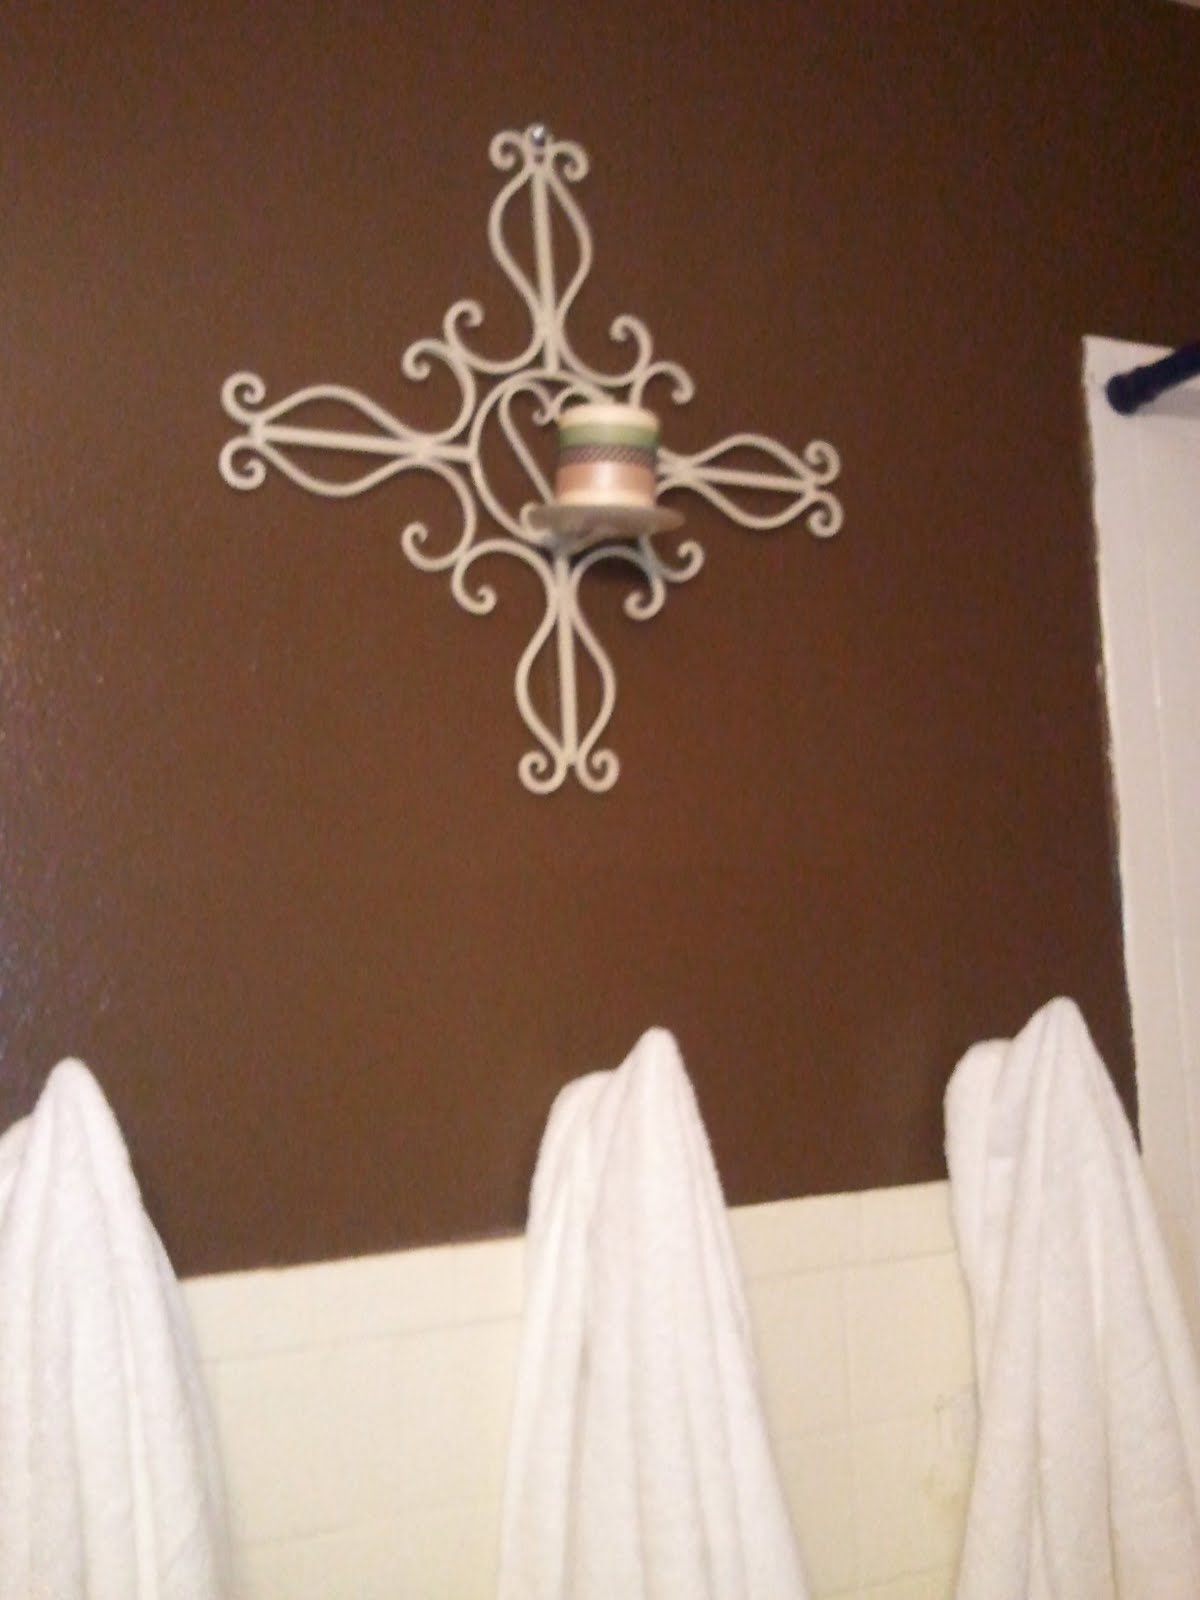
We then set to work on the walls. We used Valspare Paint with Primer, Semi Gloss. I picked a Dark Brown so that it would hid the current stains and would hide any future stains and imperfections.

After the paint was on the walls we laid a thick coat of "Tuff as Tile" on the tile walls surrounding the tub.

Then we set to work finishing the final coat on the tub.

We wanted Matching and Updated Decor and Accesories. I got the flowers from the DI as well as the shower curtain hooks, and the wroght iron candle holder.

The shower curtain, towels, rugs and towel hooks were purchased from walmart.

Here is our Cost Breakdown:
  • 3.00/ Western Horse, Shower hooks/ DI
  • 11.98/ 3 White Bath Towels/ Walmart
  • 3.98/ 2 Beige Floor Matts/ Walmart
  • 1.50/ Floral Arrangement/ DI
  • 2.00/ Vanilla Pillar Candle/ Walmart
  • 0.30/ Assorted Ribbon/ Heartland Paper
  • 15.00/ Golden Rose Pattern, Shower curtain/ DI
  • 1.00/ Rose carved, waste basket/ DI
  • 1.50/ Wroght Iron Candle holder/ DI
  • 35.99/ Tuff as Tile Refinisher/ Lowes
  • 26.87/ Valspar, Paint W/ Primer, Semi Gloss, Deep Brown 1 Gal / Lowes
  • TOTAL: $103.12
So we went slightly over... But those Horse hooks were a NEED ;)


 Our Finished Product turned out better then we Imagined. And my parents love it. :)

The Biggest DIfference is that tub! wooh!